Construction of a small Wormery
(Based on an event conducted by Neil Gent on 2023 April 29th at Langley House)
A wormery converts raw kitchen waste into nutrient rich liquid fertiliser and compost. Commercial units can set you back £50-£200 but the unit built by Neil cost the princely sum of £12.
You need:
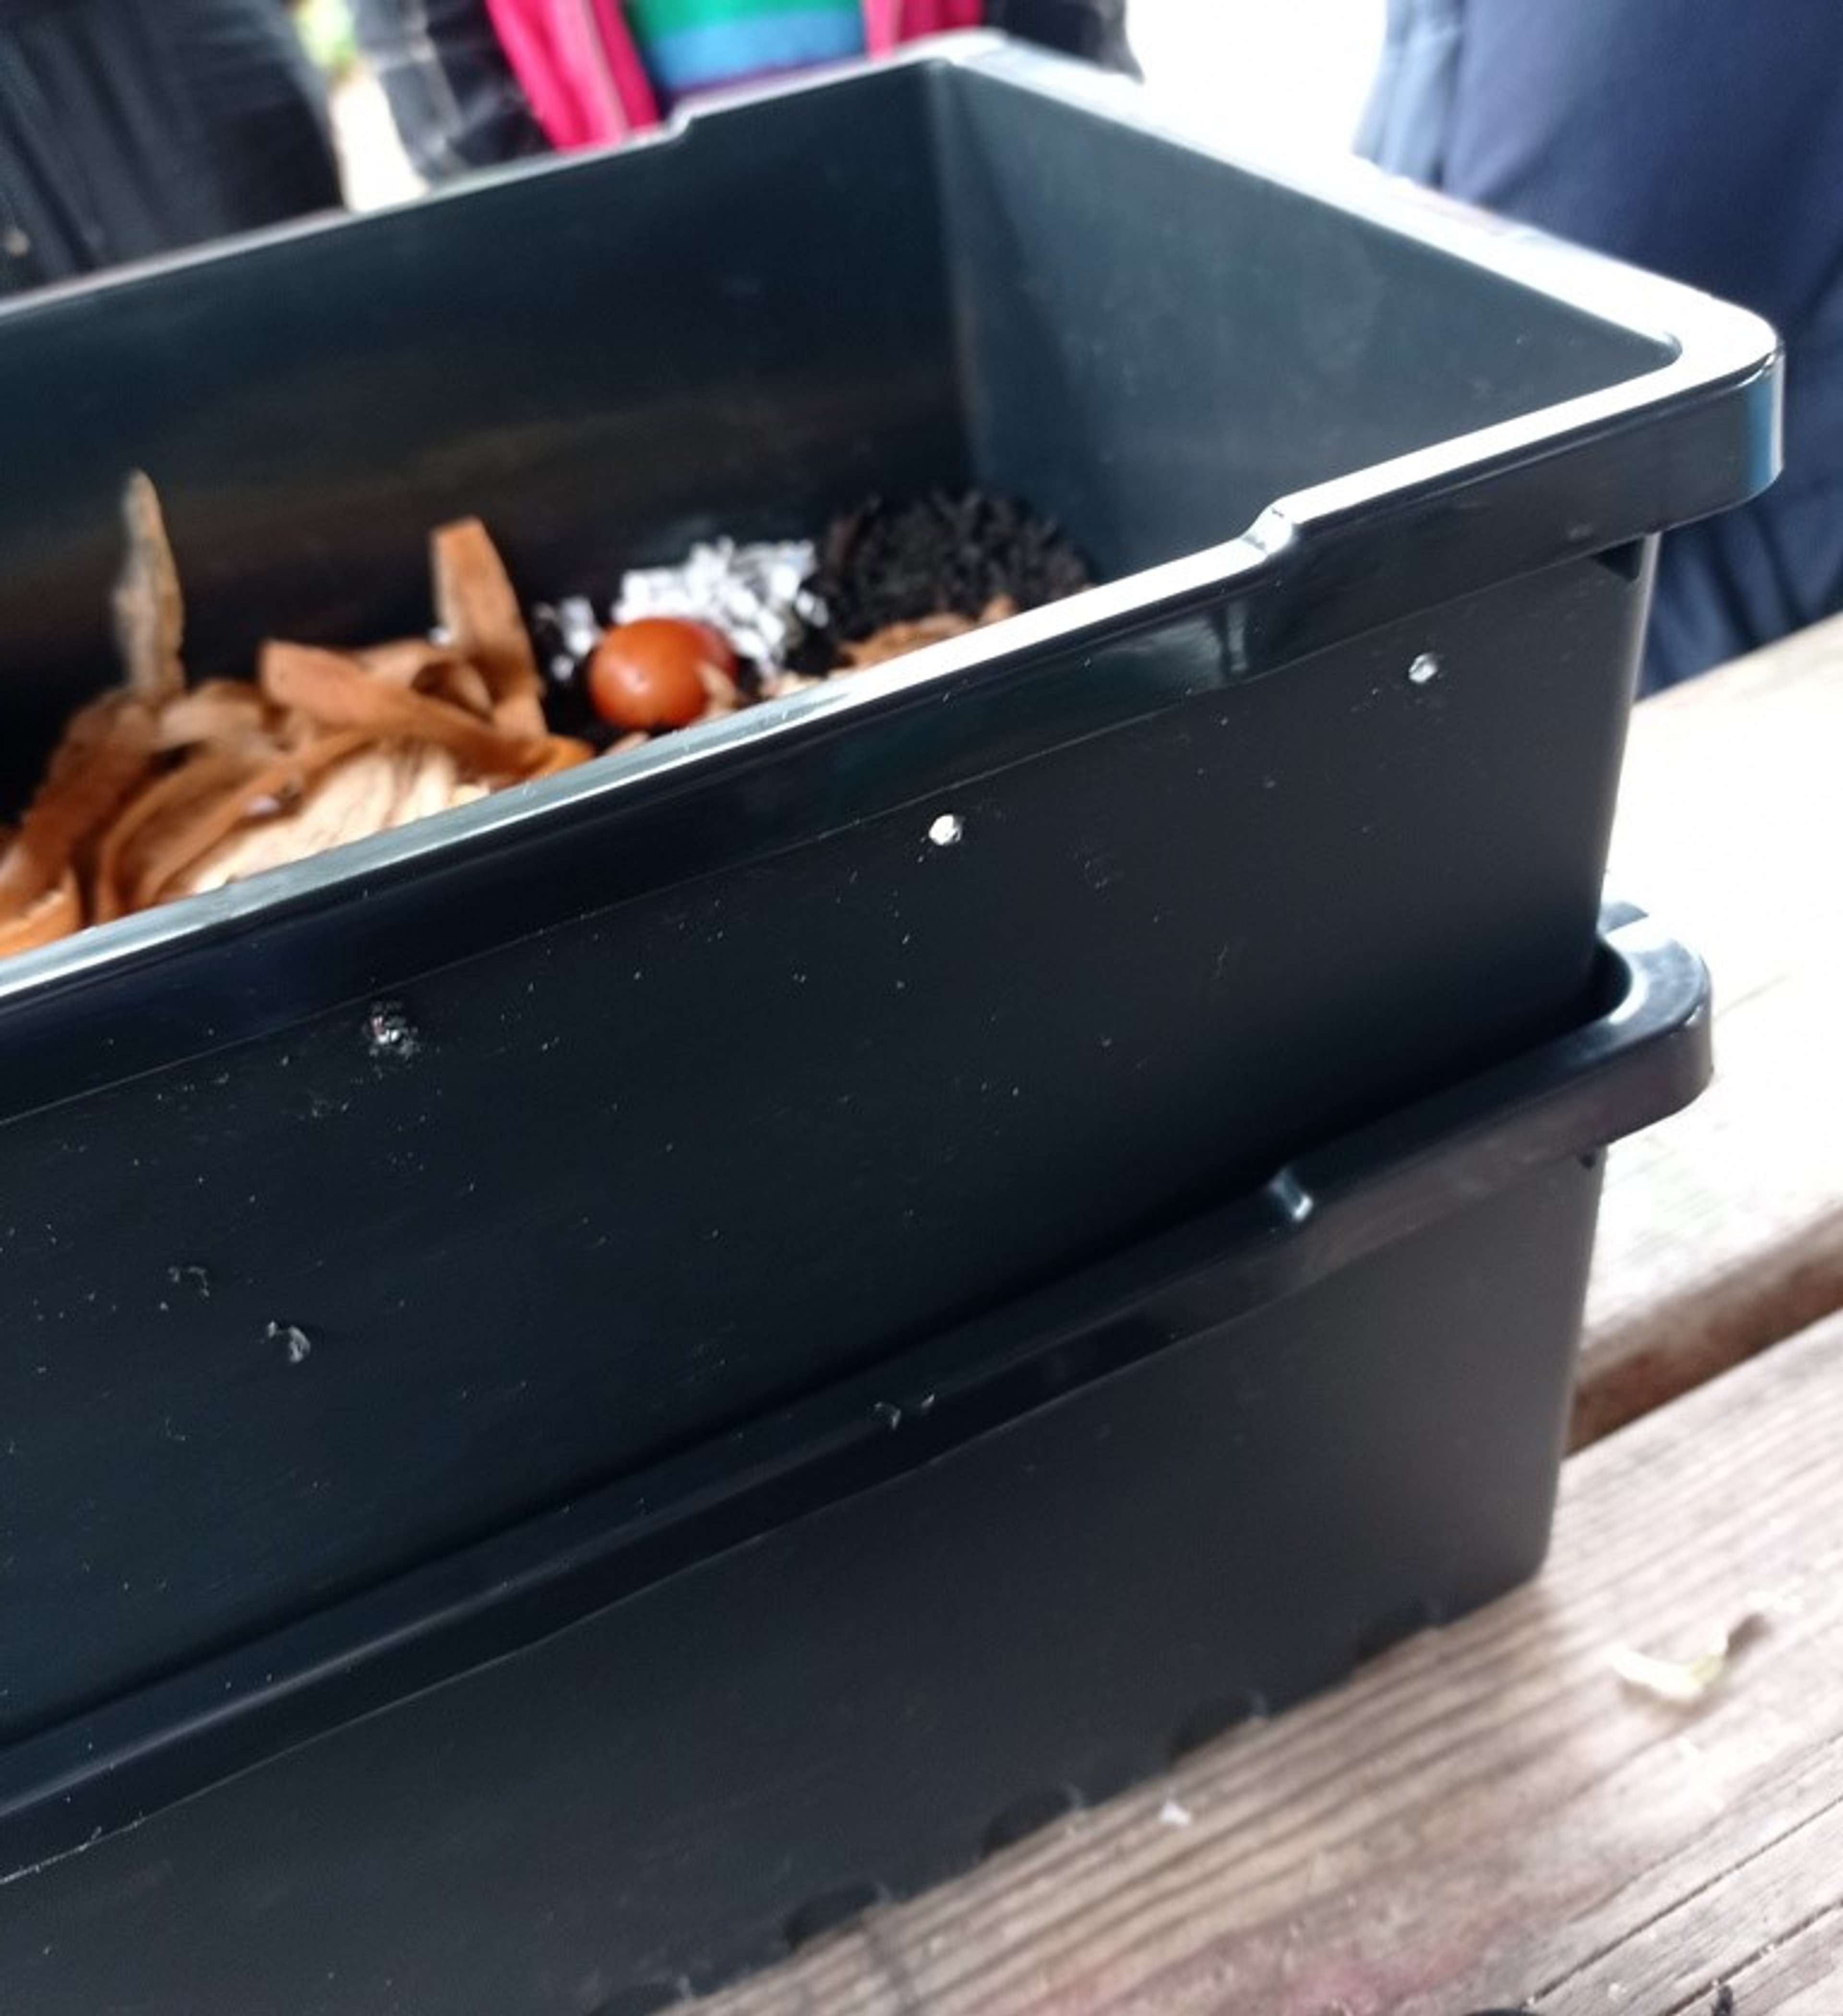
- 3 or 4 stackable tubs/trays of a size that suits the amount of kitchen waste you produce. We had tubs that are about 200mm by 150mm by 75mm (12” by 6” by 3” in old money). These need to be opaque (preferably black).
- One lid that fits the tubs
- A tap to let out the liquid fertiliser
- A drill and 25mm, 6mm and 2.5mm bits
- Some torn up or shredded paper and a little compost
- Kitchen waste
- Worms!
Construction
Take the tray for the bottom layer and drill a 25mm hole in the side. Insert the tap and tighten up. Important – don’t drill any holes in the bottom of this tray!!
Put in something to hold the next tray above the level of the tap. We used a plant pot that was lying around. A small brick with a flat top would be better. Some tubs stack at the rim so this wouldn’t be an issue.
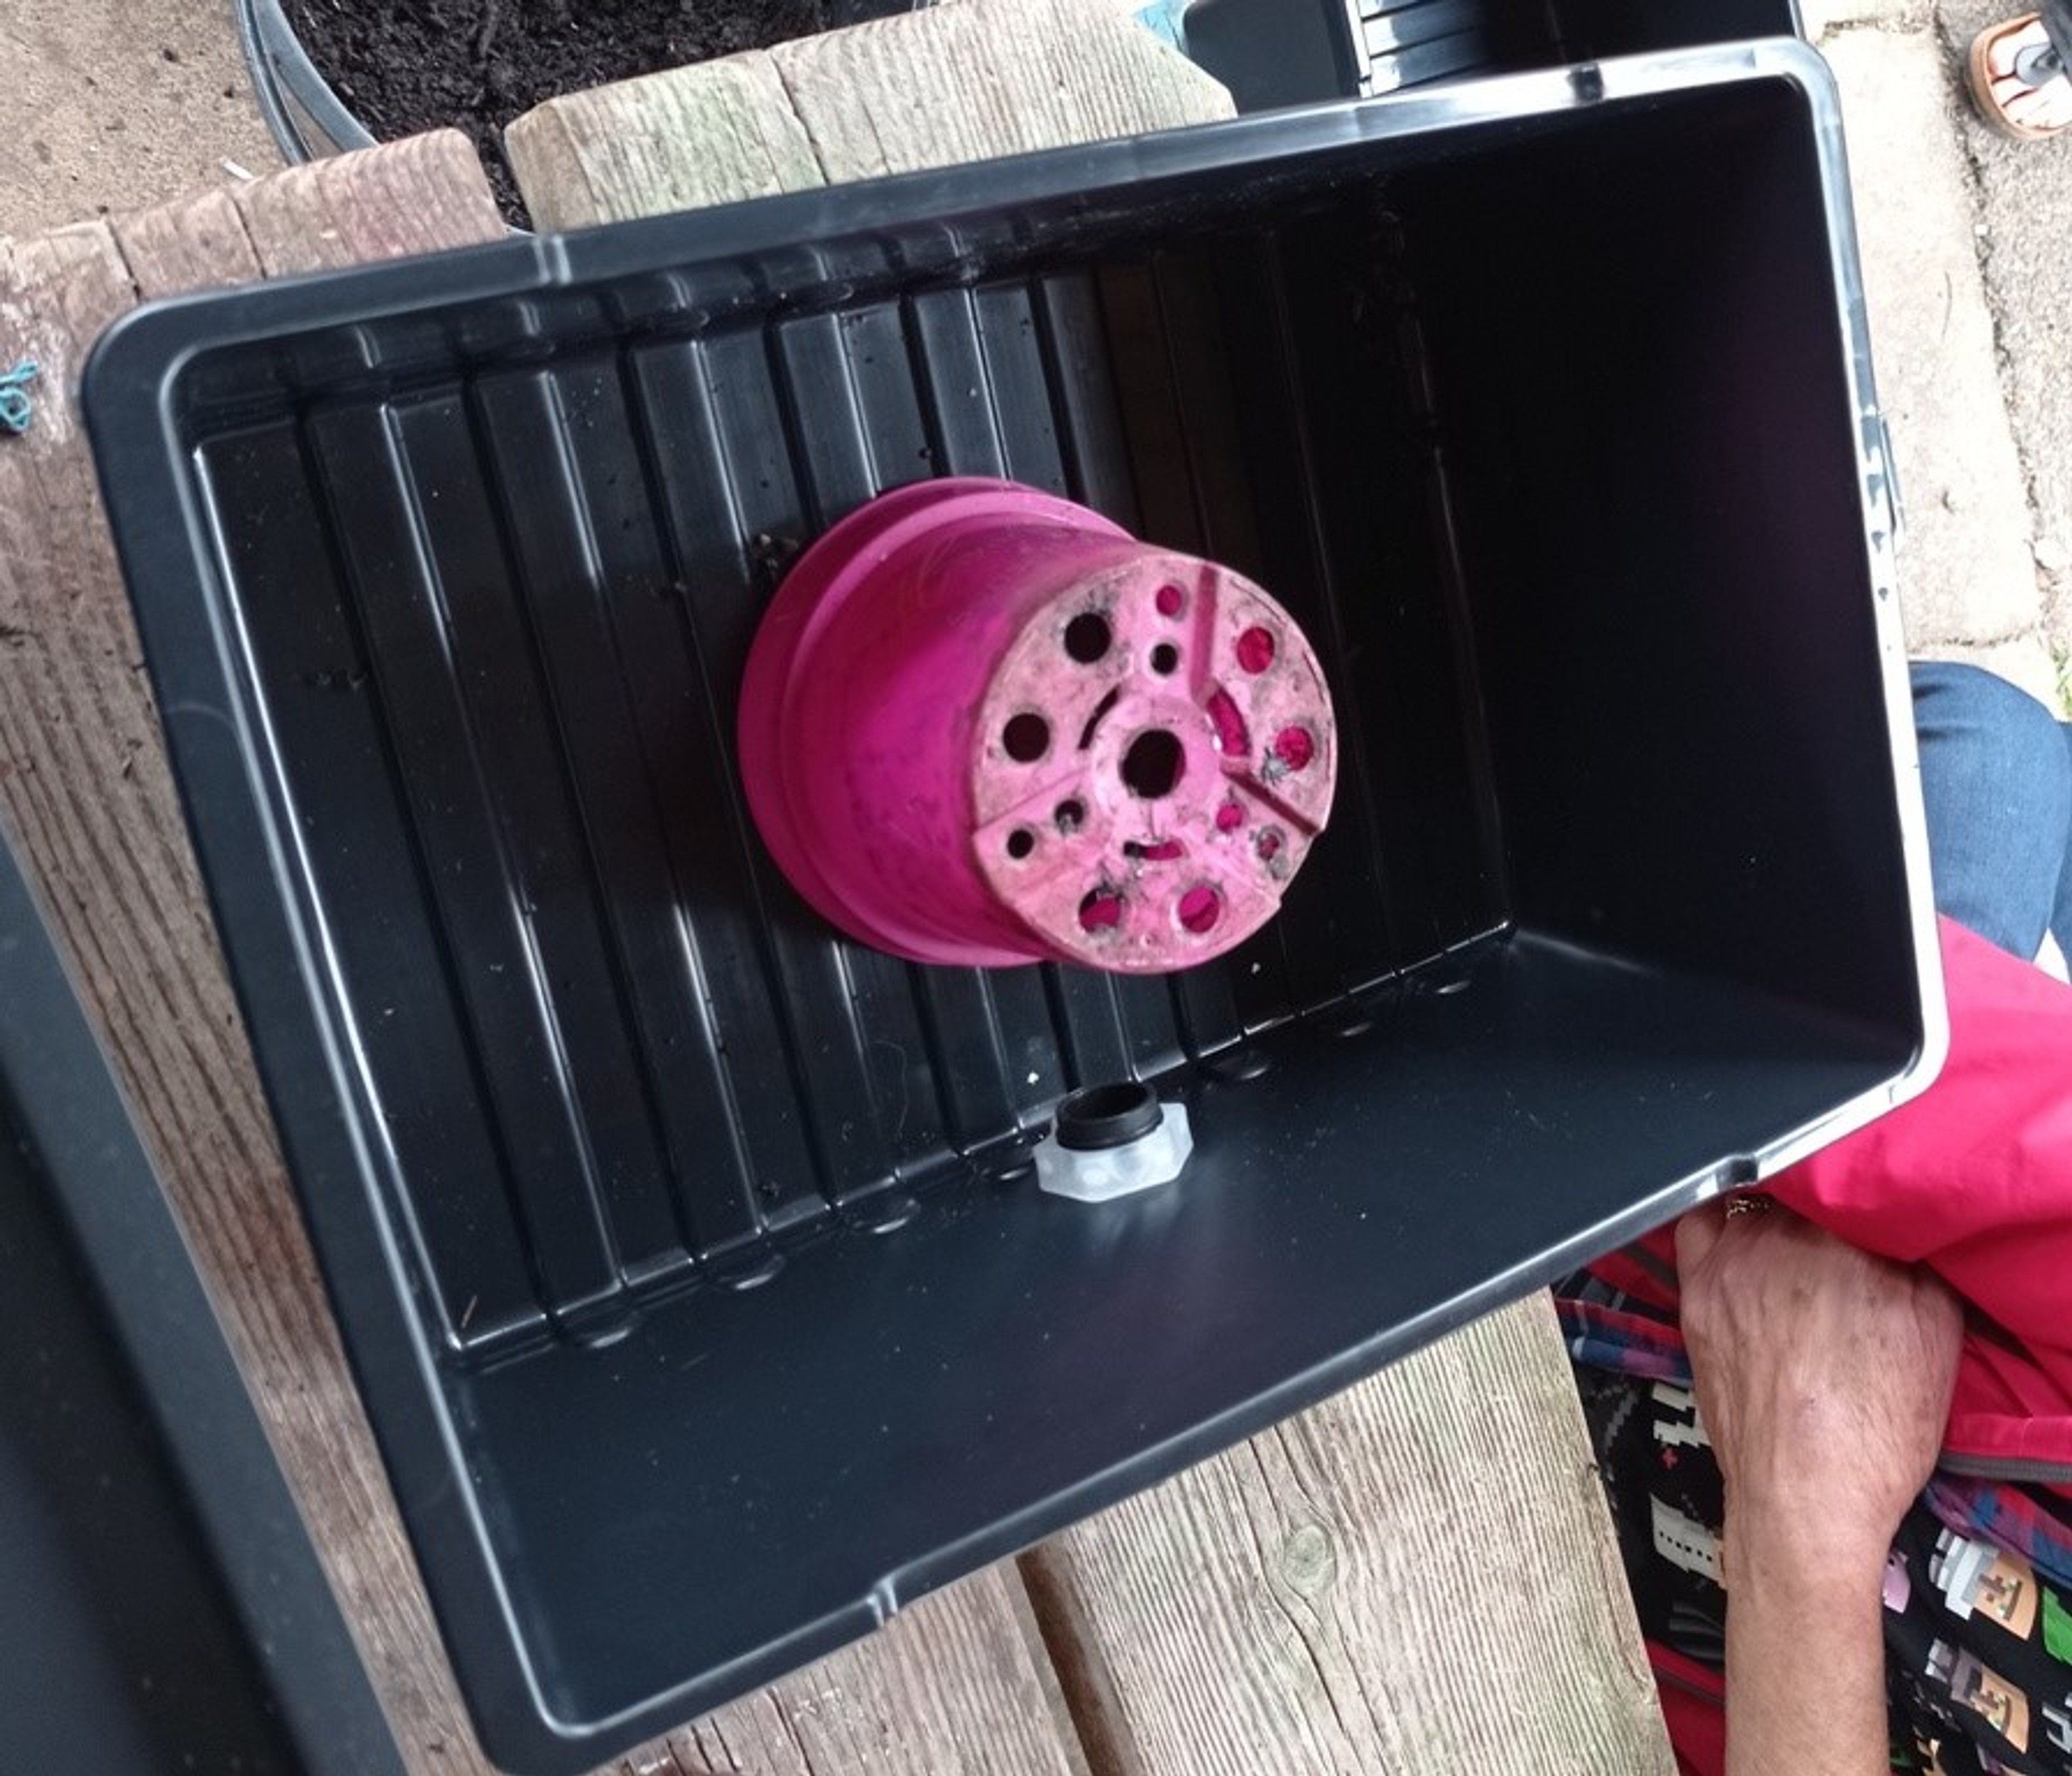
Now take the next tray – this will be the first layer which will have worms - and drill lots of 6mm holes in the base. Don’t go mad and weaken the tray but the liquid fertiliser will drop through this base to the bottom tray and worms will go through the holes to get from one tray to the next.
Drill some small (2.5mm) holes near the top of the tray all around the side. This is to let in air but we don’t want a lot of light. Earthworms don’t really like to be in the light. The clue’s in the name!
Repeat this for the other trays. We’ll use them later.
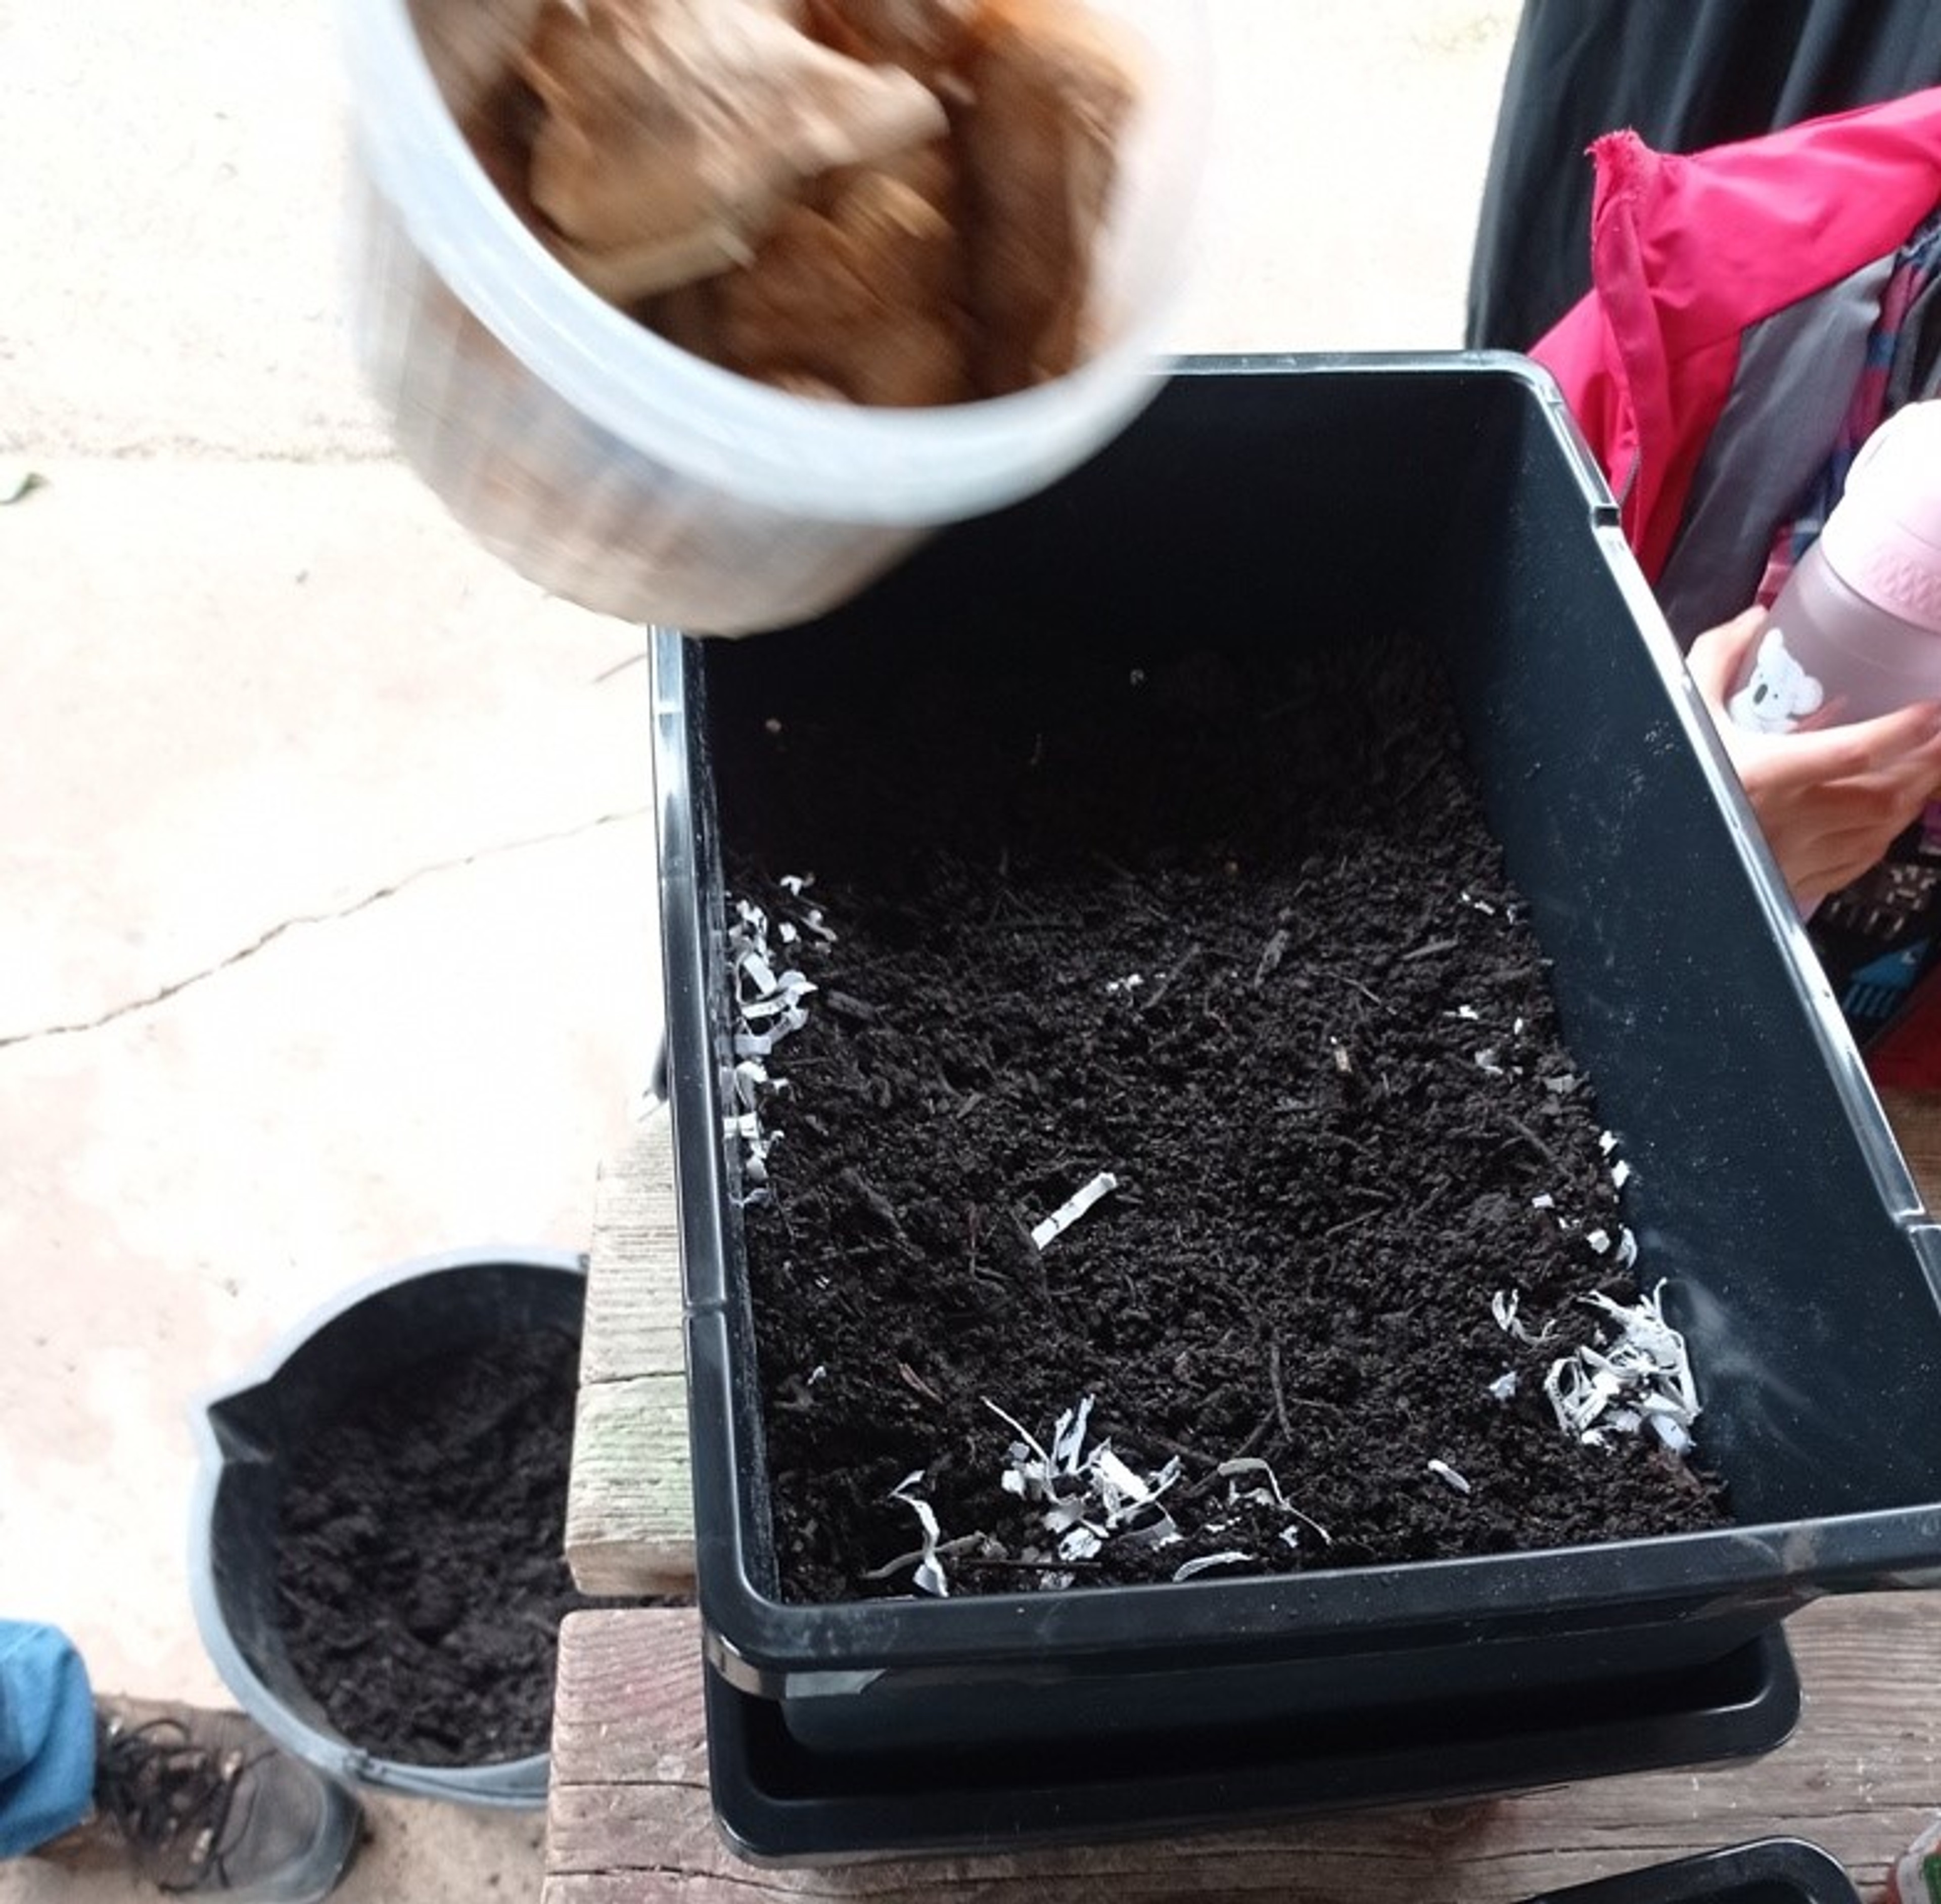
Line the bottom of this tray with a mixture of shredded paper and compost. The paper gives some aeration and the compost will help filter the fertiliser.
Add the food waste. It’s best if this is uncooked. The worms would break down cooked vegetable matter but that might attract 4 legged visitors (which you don’t want!)
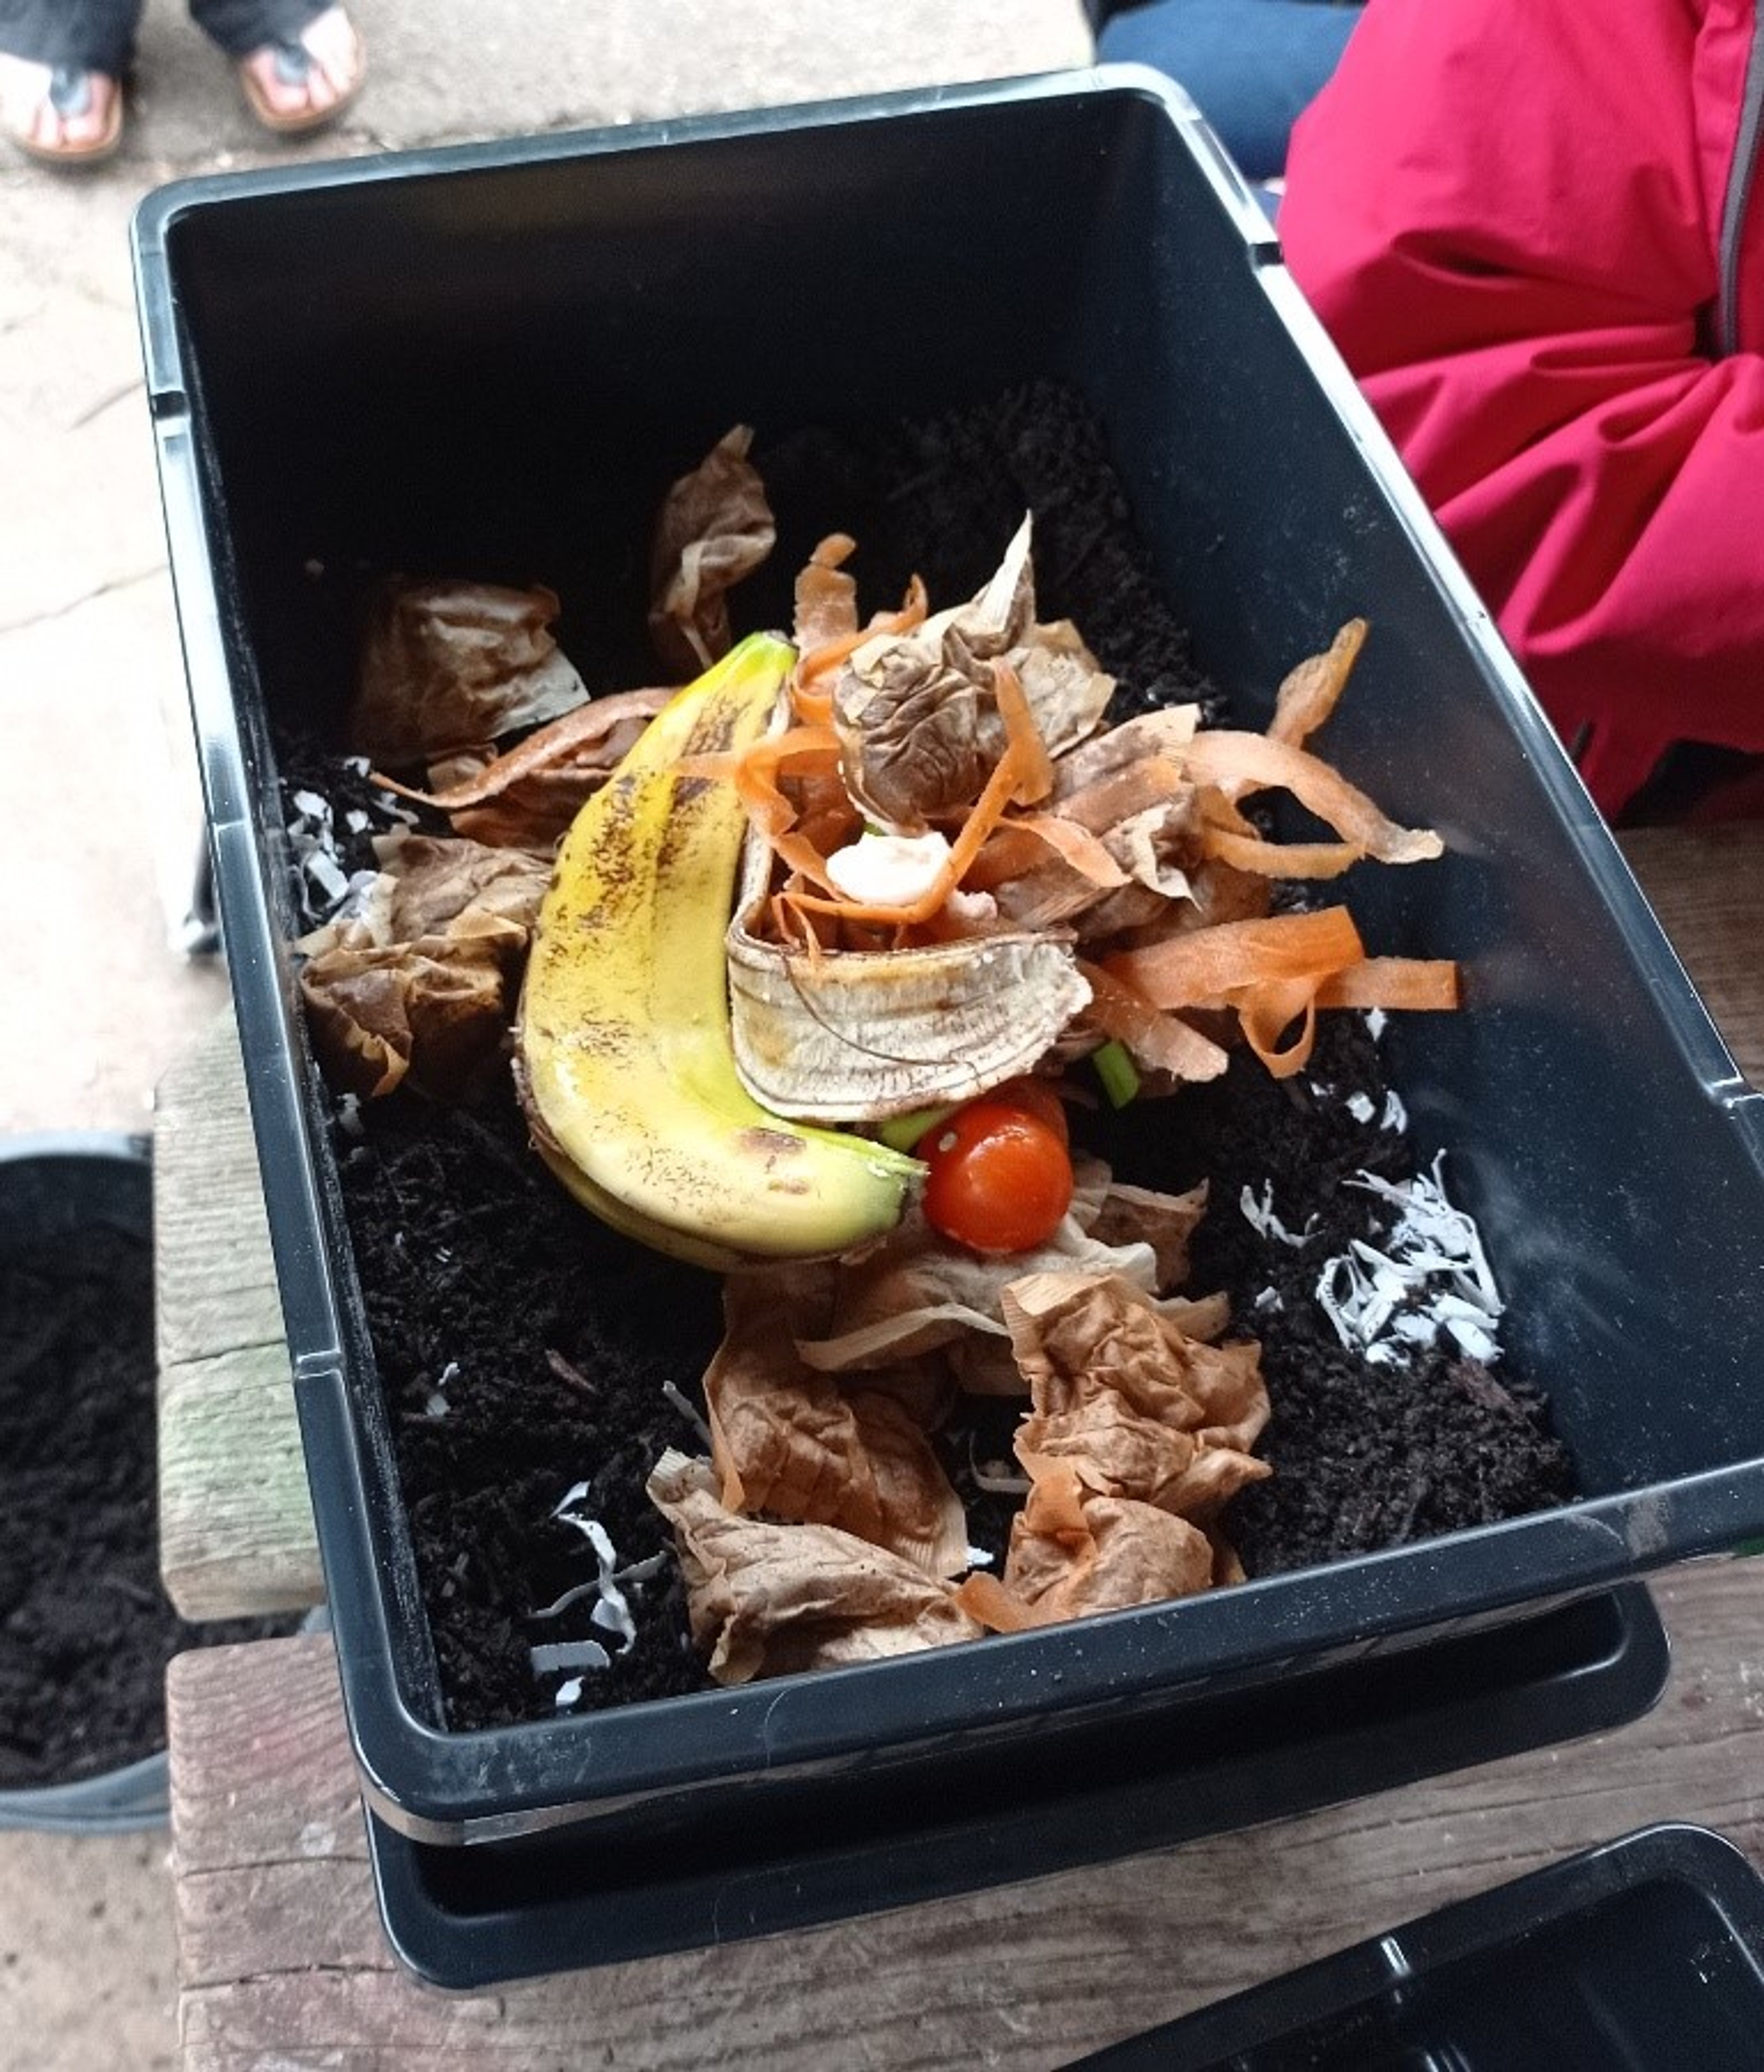
As you can see, the worms will have a crack at just about anything - banana peel and tea bags included! Citrus is a big no-no for worms’ delicate skin.
Now add the worms and a layer of cardboard in the top layer of your wormery (this is so when you open the lid the worms aren't exposed to the light). Then cover the top tray with a lid. You can leave it just about anywhere with a reasonable temperature. A warm spot will help the vegetable waste break down but it shouldn’t be so hot as to stress the worms – so not next to a radiator or in the sun.
Add more kitchen waste – chopped up if possible - as it becomes available, replacing the lid each time. As the tray fills up with waste, the worms will break it down and move further up the layer. They’ll move about depending on the temperature and the food that’s available. Don’t add more waste than the worms can cope with.
After a week or so, you should start getting some of the liquid fertiliser in the bottom tray. Extract by using the tap into a jug (preferably a measuring jug). Dilute the fertiliser 1:10 before use on your garden or indoor plants. It is a rich mixture so you may need to increase the dilution.
When the tray is full, take one of the other pre-drilled trays and put a layer of paper and compost in the bottom followed by your next batch of kitchen waste. Put this on top of the existing tray and put the lid on top of the new tray. The worms will move up through the holes in search of the new waste. Don’t worry about the size of the holes – worms can squeeze through very small ones!
You’ll eventually have a stack of 4 trays. The worms will probably have vacated the bottom layer and the resulting compost can be taken out and used. Put in some fresh paper and compost with some kitchen waste and make this the top tray (with the lid).
First find your Worms…
Worms can come from the ground by digging them up, from existing compost heaps or around pots in the garden. Just gather them up and pop them in the wormery. The best ones are the little red ones you find in compost heaps but ordinary earthworms will still do their bit.
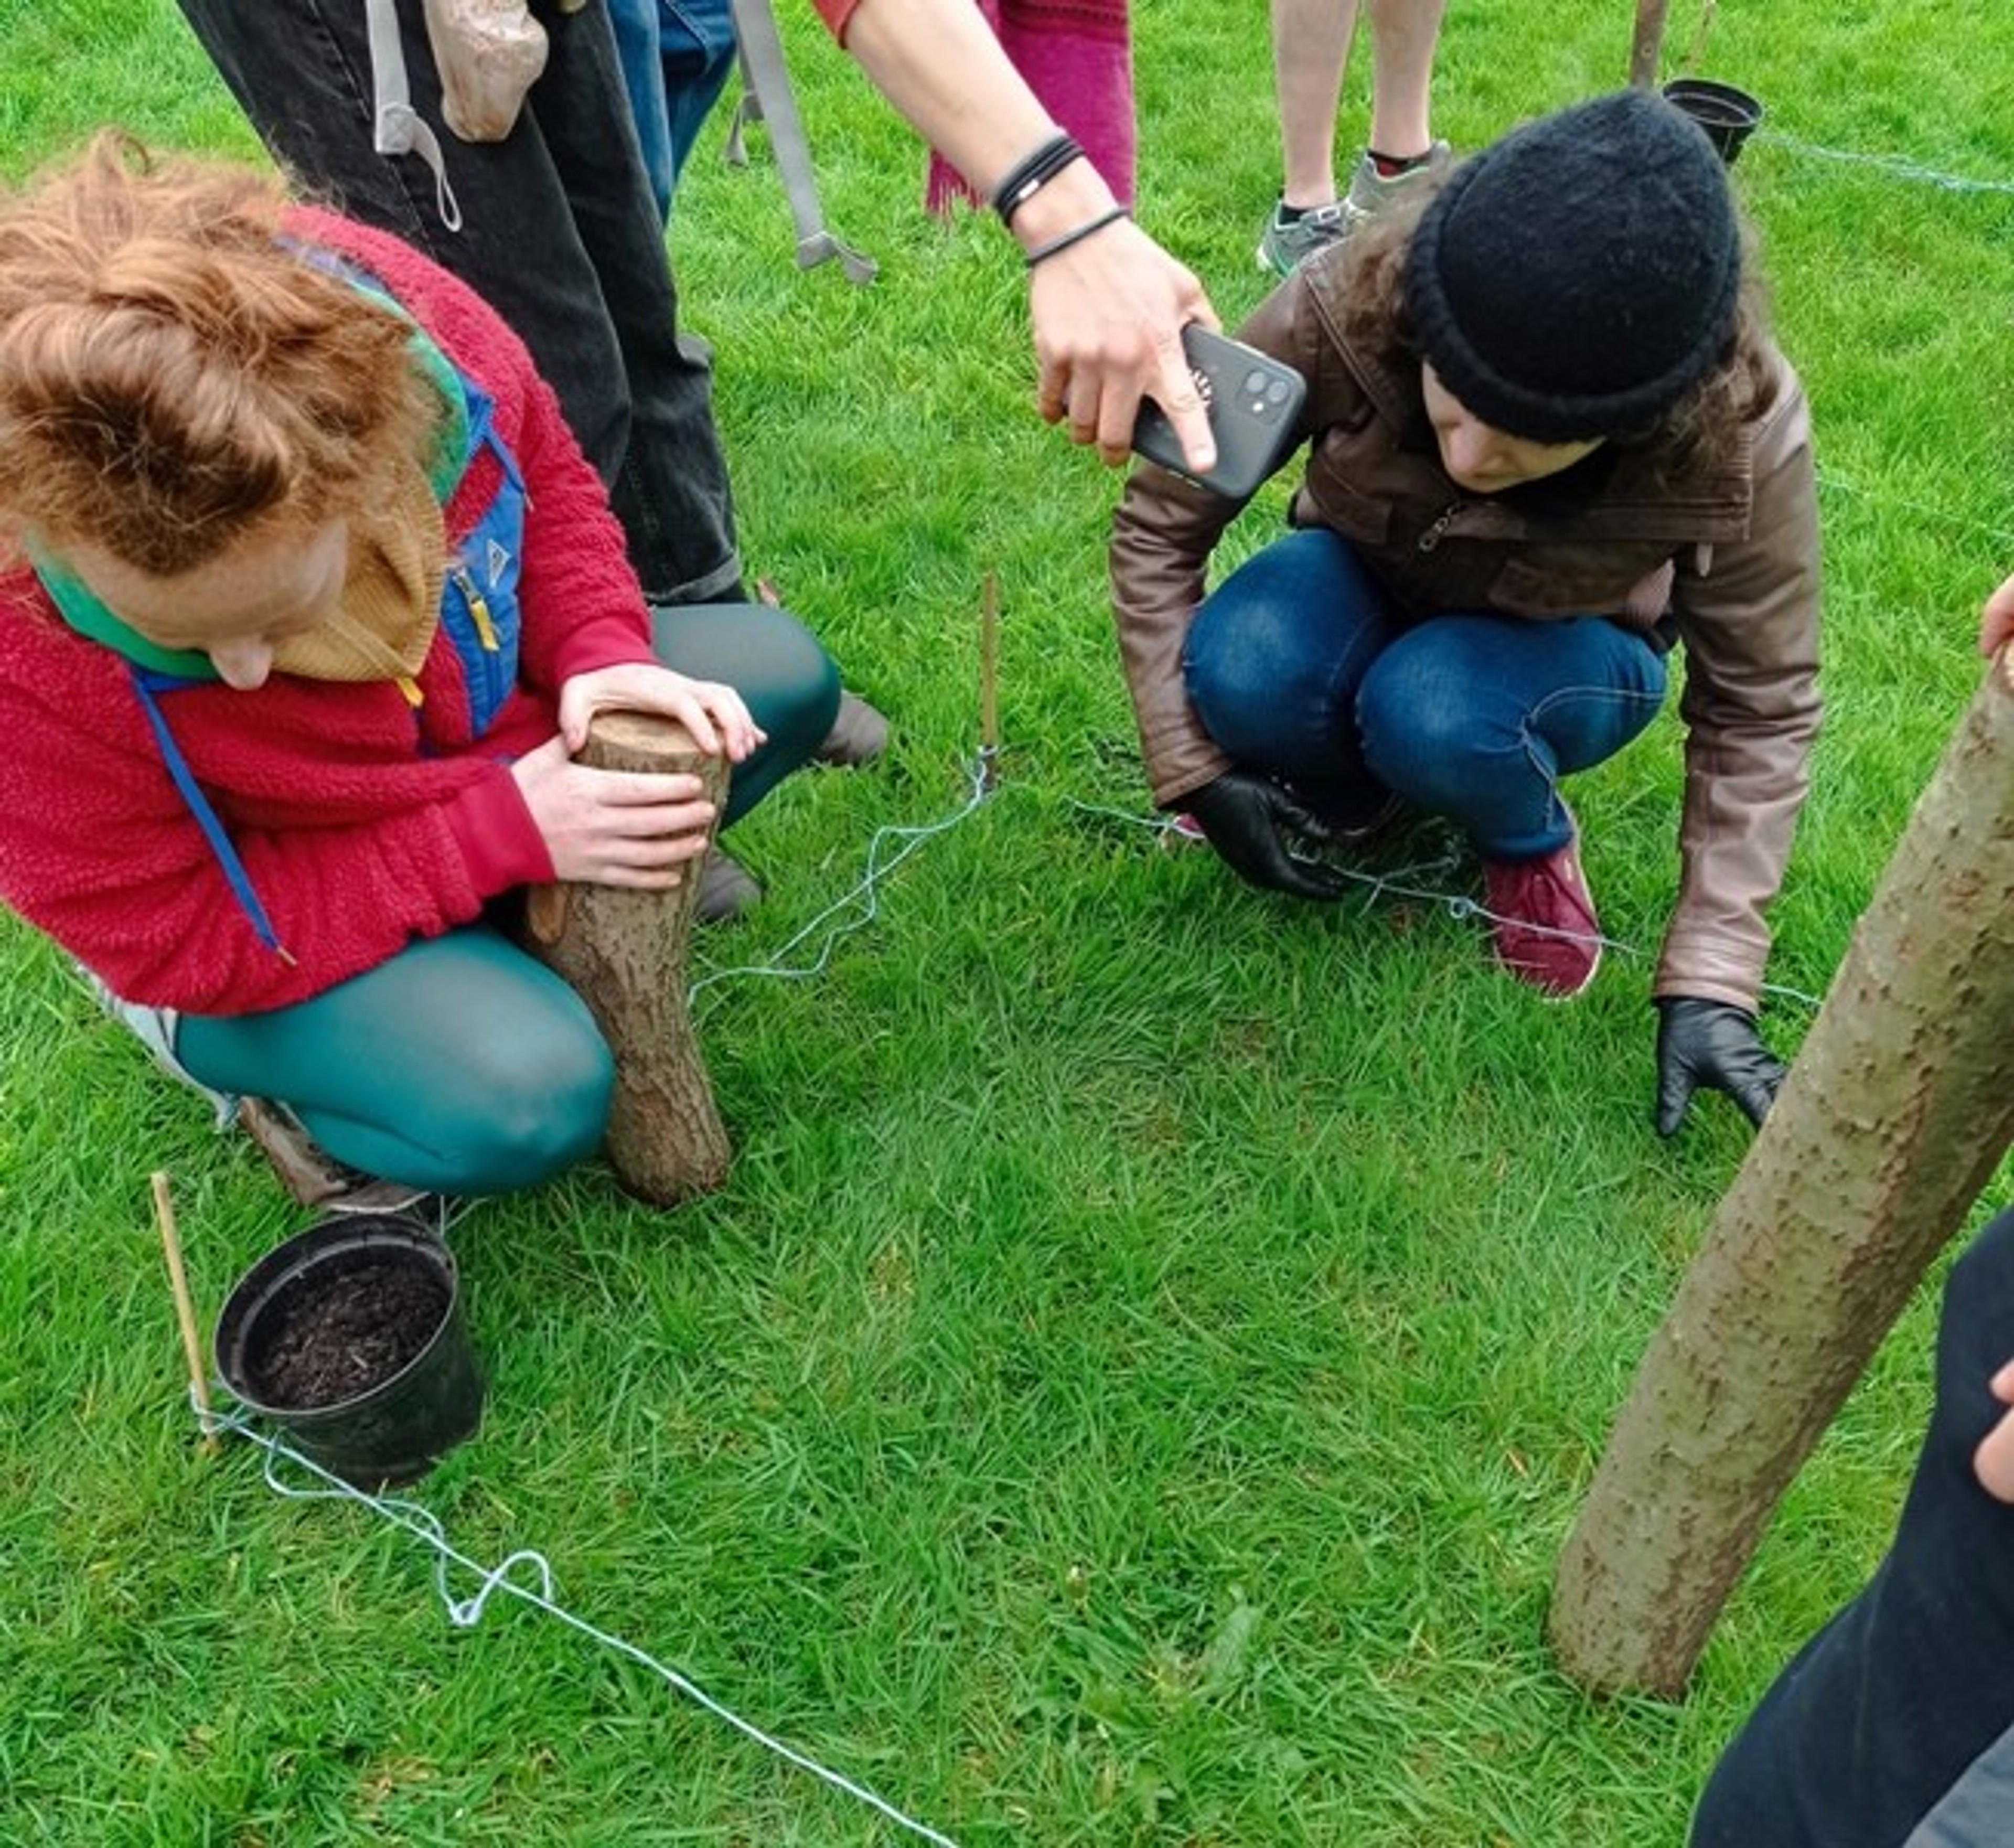
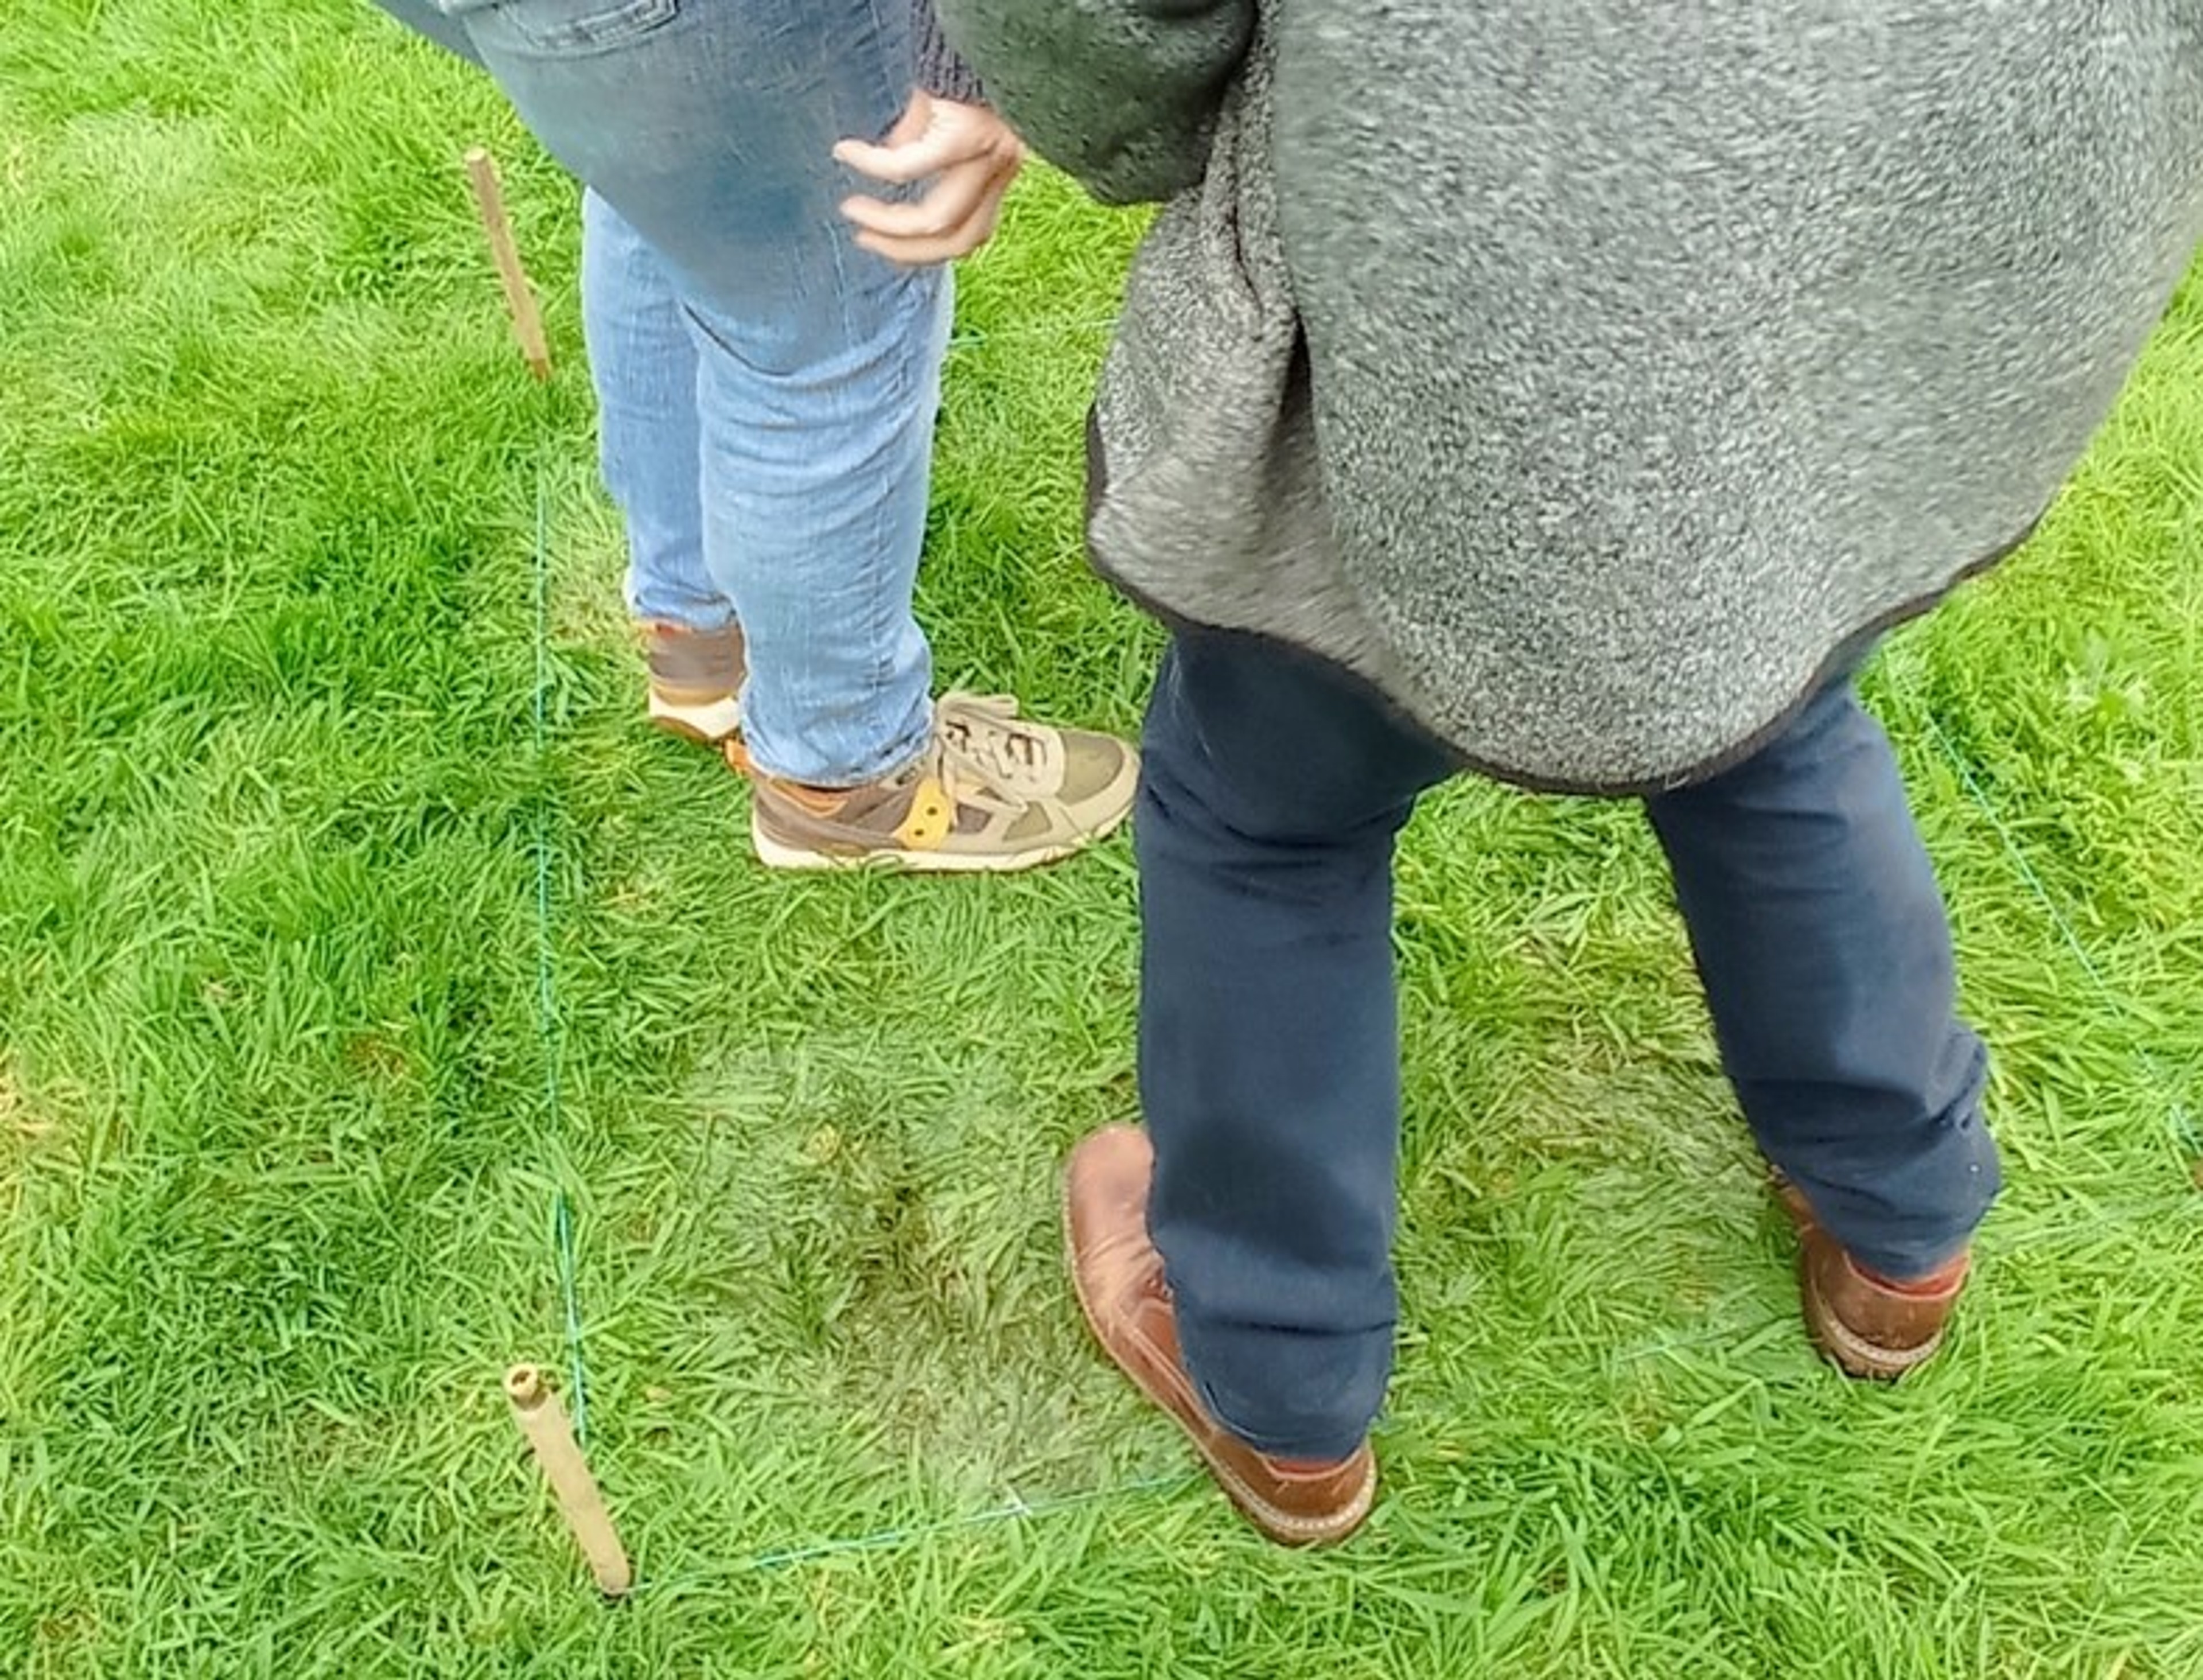
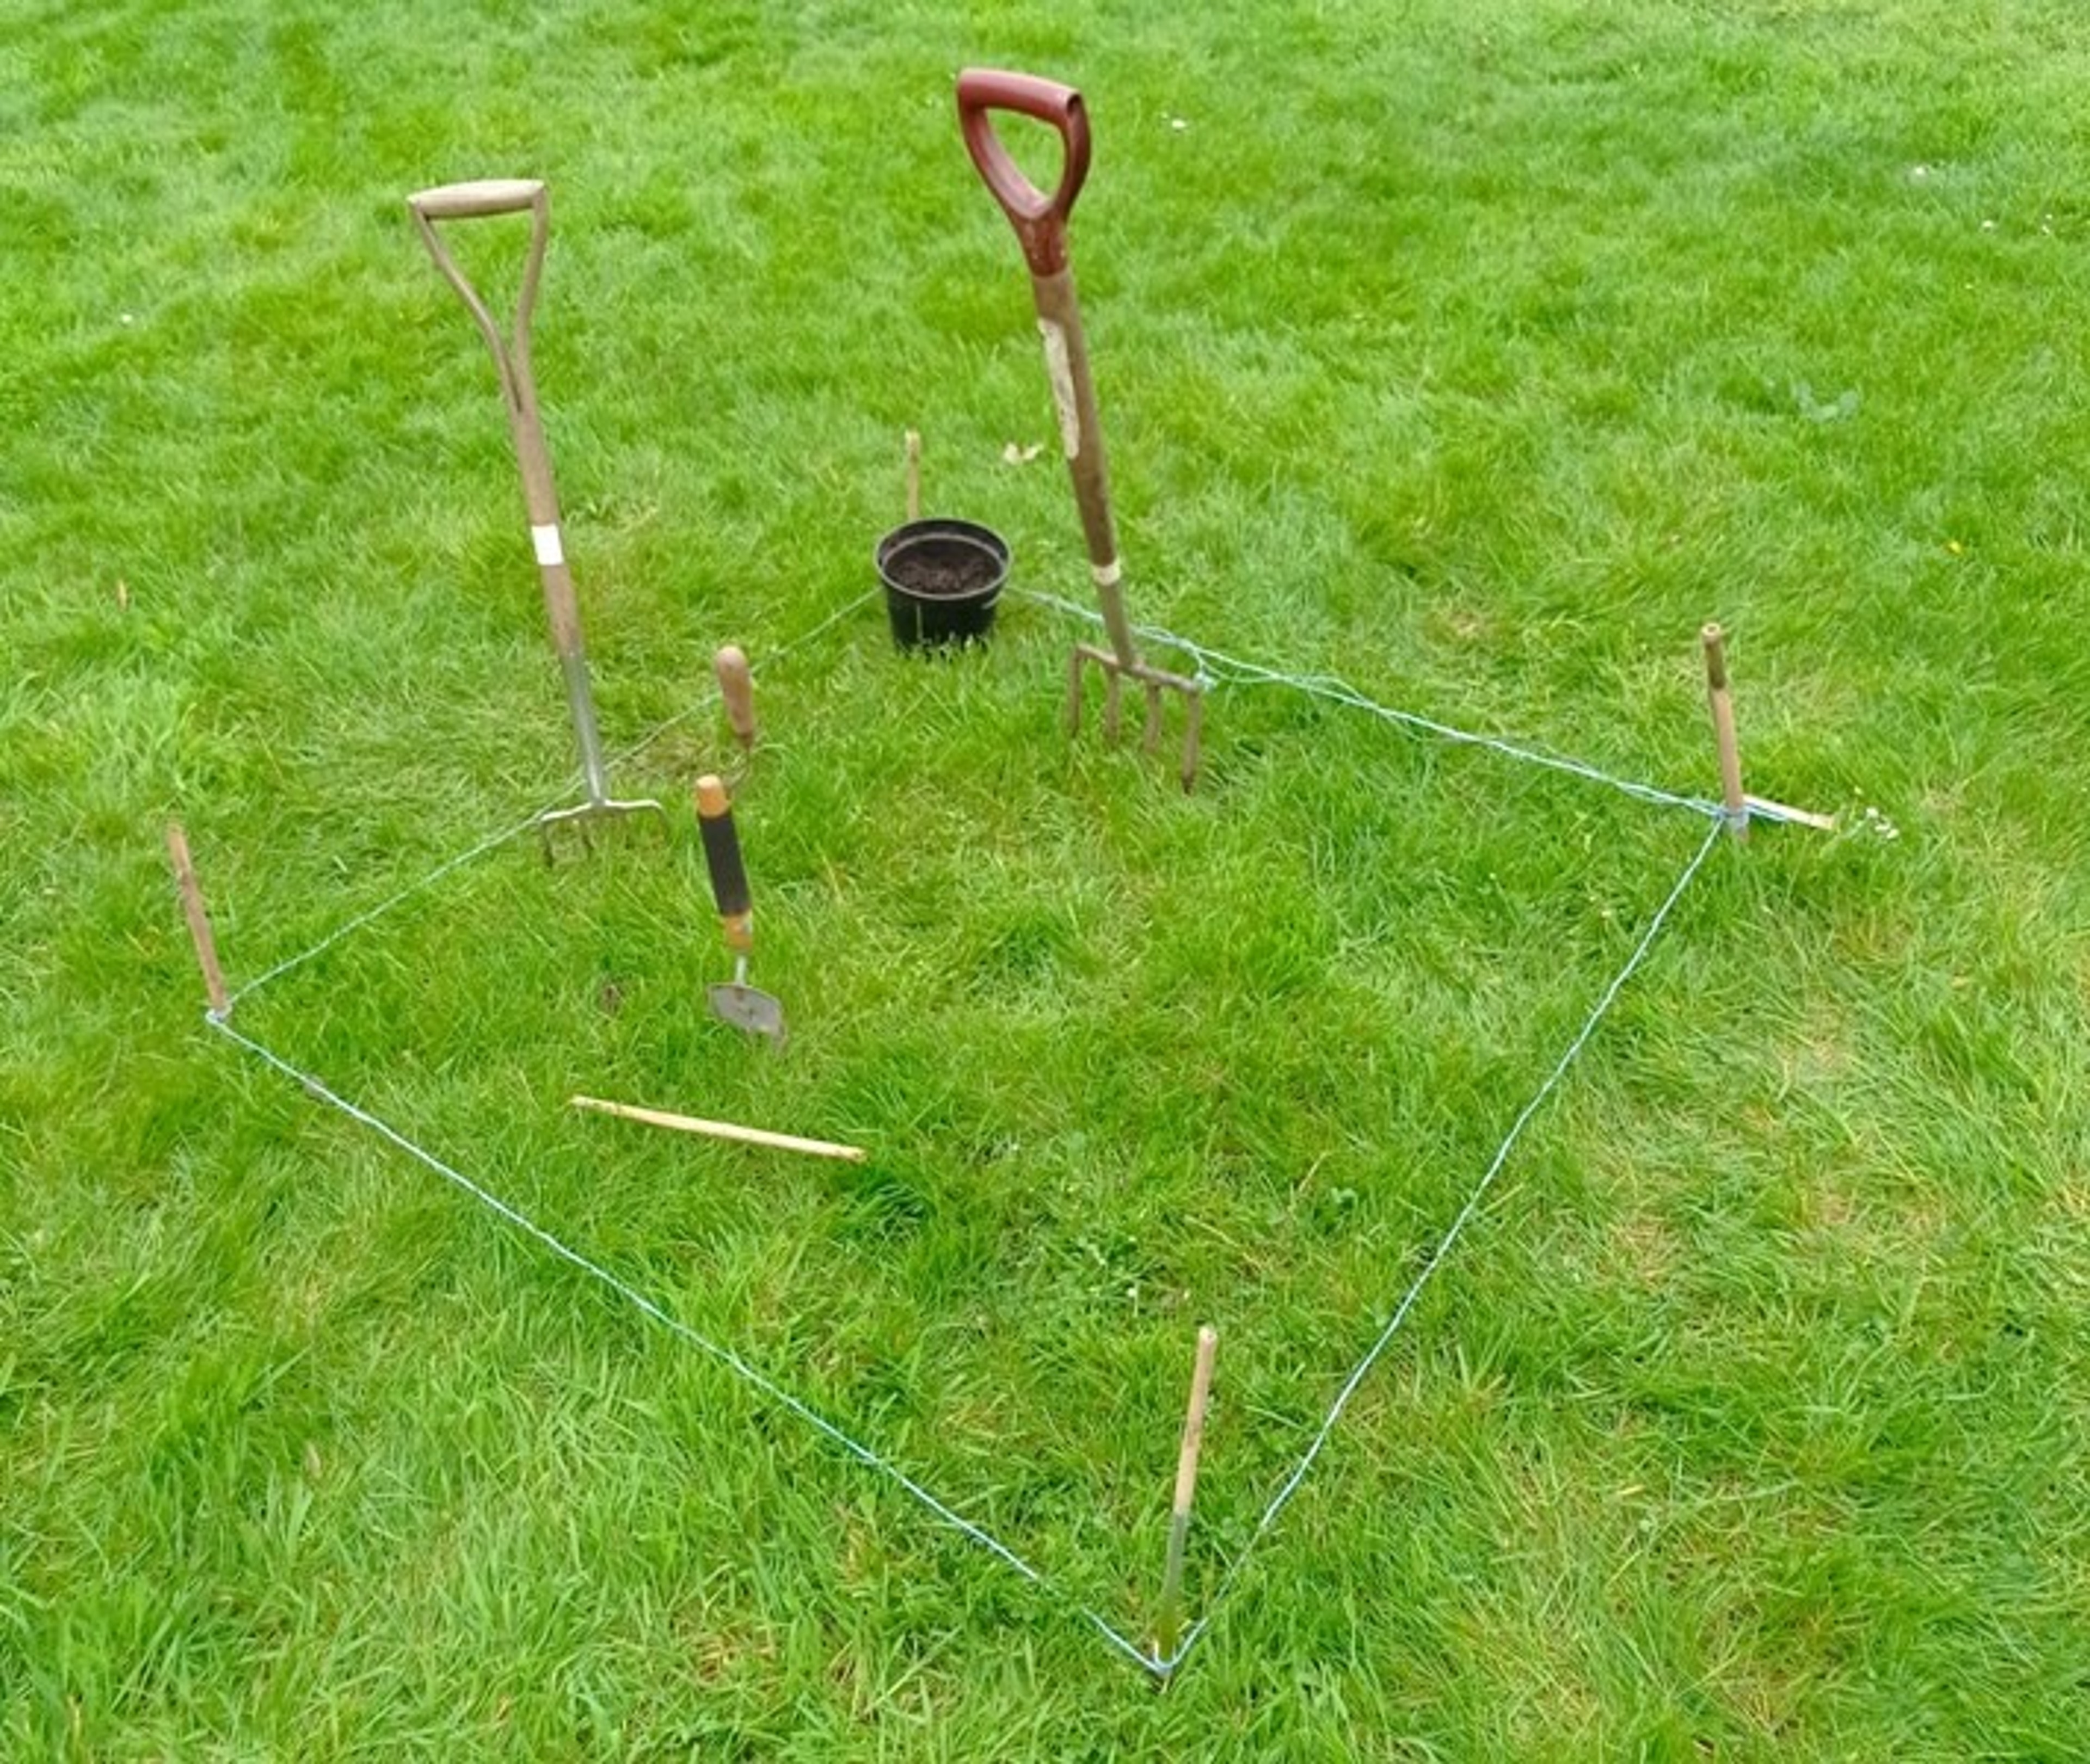
There are lots of other ways to “charm” worms from the ground. We marked out some 1m squares and tried:
- Banging the ground with some logs
- Jumping up and down on the ground
- Putting forks in the ground and banging them so that the sound would be transmitted into the ground
- Pouring about 500ml of an “irritant” (some dilute washing up liquid ) over the 1m square.
Digging was by far the best way but jumping up and down seemed to be the next best! The “irritant” didn’t work at all.
All a bit too energetic for me, though!